 What?!! I know, I know it’s been a long time. I actually have a lifestyle blog on the back burner and I’ve been trying to decide on whether to revamp this blog using the same look as my lifestyle blog or just start adding beauty posts to the lifestyle blog and leave this blog up but with no new content. Anyhoo, it seems like highlighting and contouring has been the rave. Why you say? Unlike before, several makeup lines are coming out with “all in one” contouring and highlighting palettes such as Smashbox and Anastasia. Honestly, this isn’t a new thing, Drag Queens have been doing this WAY BEFORE the everyday person had even thought about it.
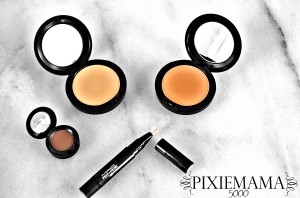
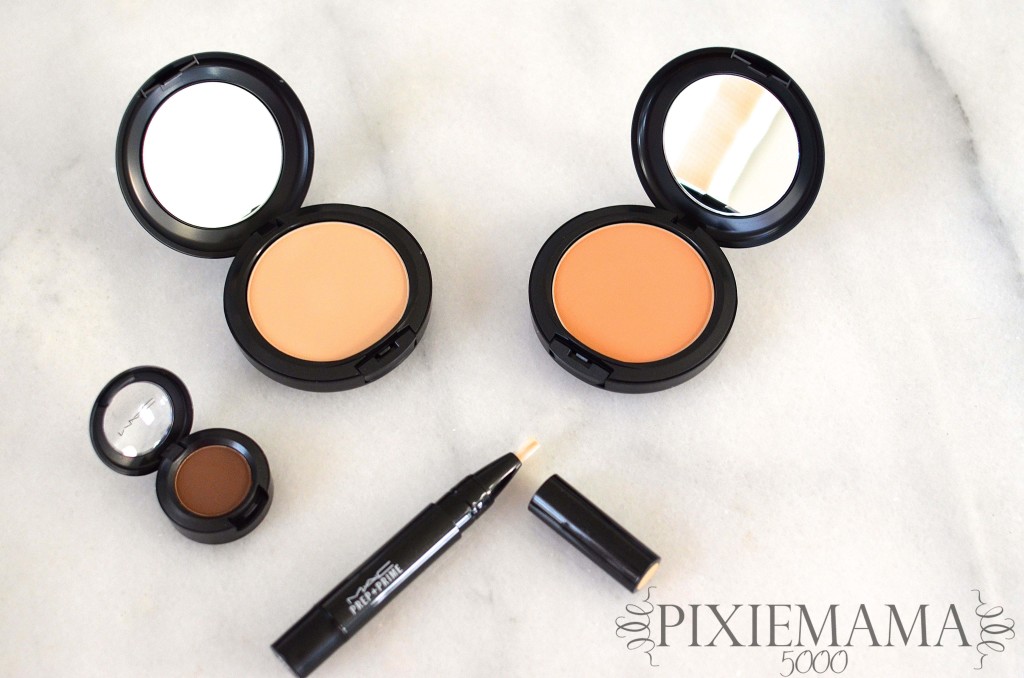
I have always dabbled in a little bit of contouring, i.e., brushing bronzer underneath my cheekbones and around my jawline, however I thought that the serious Kim Kardashian contouring and highlighting wasn’t practical for me. Out of curiosity I headed over to MAC to visit my friend Angel and get her feedback and tips on helping me contour and highlight for an everyday look. I have very oily skin so I gravitated naturally to products that were powder based. We came to a happy medium and here are the following products we used to create a contoured look, MAC StudioFix Powder in NC42, MAC StudioFix Powder in C3, MAC Prep and Prime in Light Boost and MAC Eyeshadow in Espresso. As you can see you probably have most of what you need to highlight and contour yourself without buying a palette or kit.
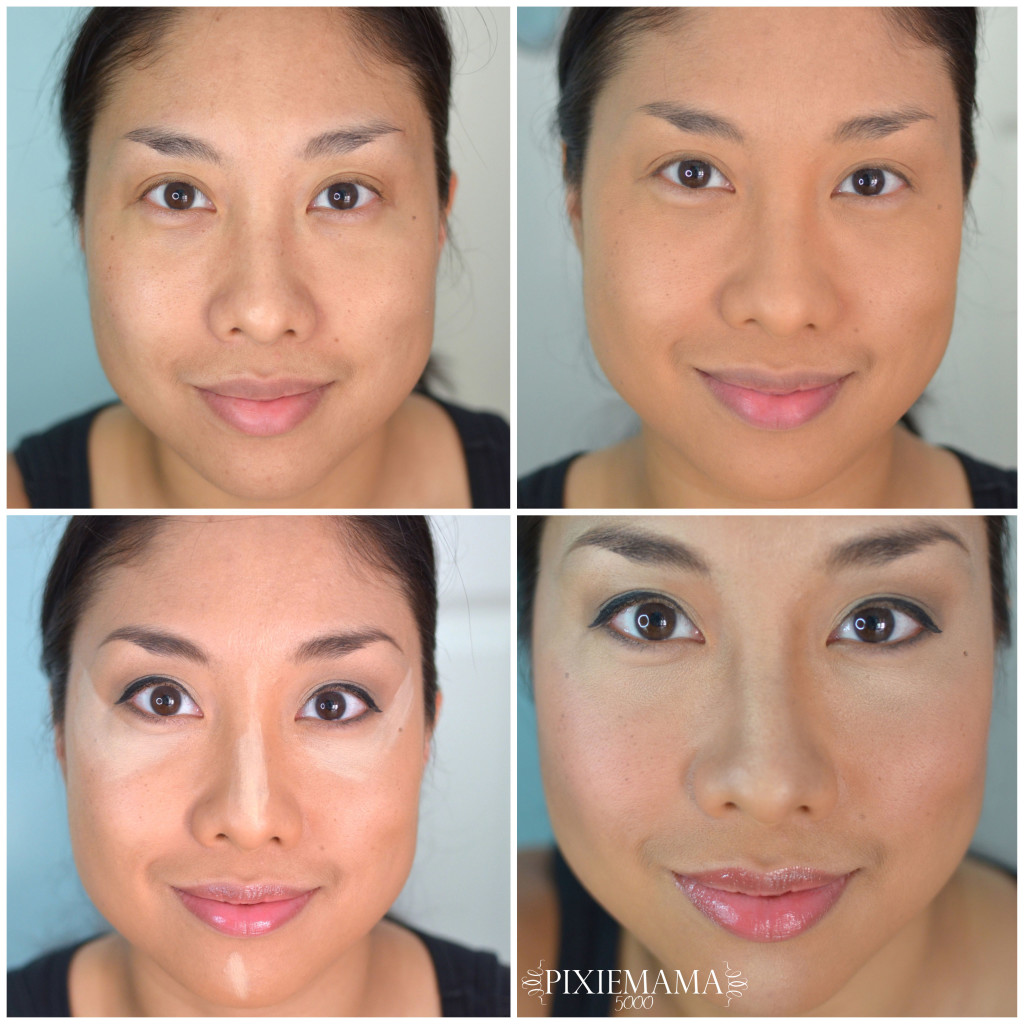
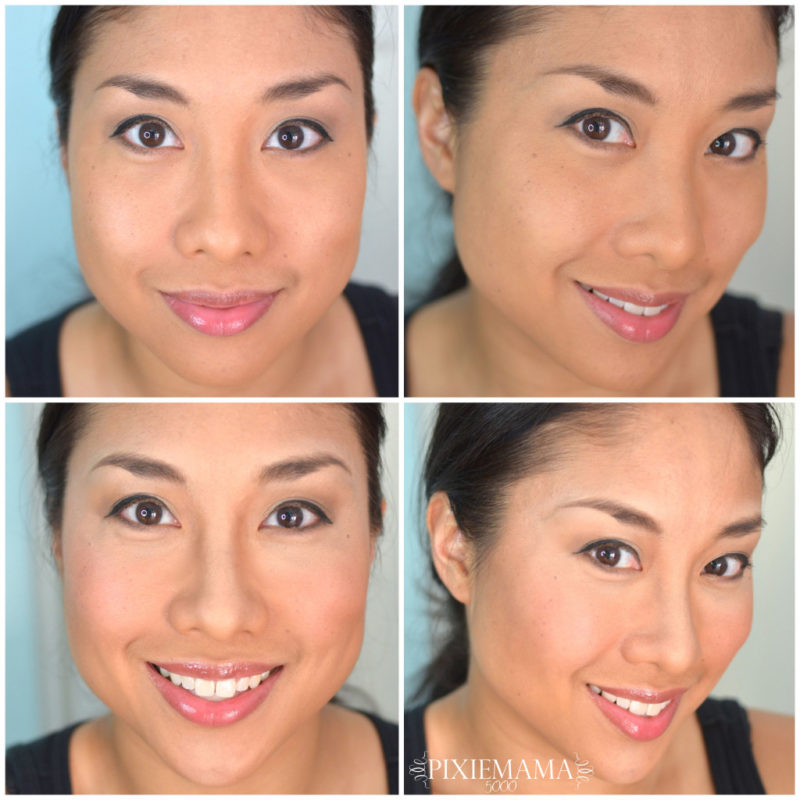
Highlighting and contouring is a great way to give you that glowing look and give your face a little definition. To highlight my face, I took the MAC Prep and Prime and I applied it to my nose, under eyes in triangular shape, around my eyebrows and a little on my chin. I used a beauty blender to blend everything out. Here are the photos so that you can see the transformation.
From L-R, Top/Bottom: No Makeup, Only MAC StudioFix Foundation, Full Makeup with Highlighter applied and finished product with small contouring and everything blended.
As for contouring I am sure you were wondering why would I choose to contour with a brown eyeshadow? Recently I saw a YouTuber contouring with MAC Espresso and though to myself, “What on earth?!!!” In the past I had a Makeup Forever contouring palette that had a very orange based contour color and whenever I tried to use it I would end up looking like I had too much makeup on. When I told my friend Angel who’s a manager at MAC to try to contour using Espresso she gave me the strangest look. Originally she brought out a darker/cooler color than my NC42 foundation to contour with and after trying both she said that the Espresso eyeshadow actually went on smoother!
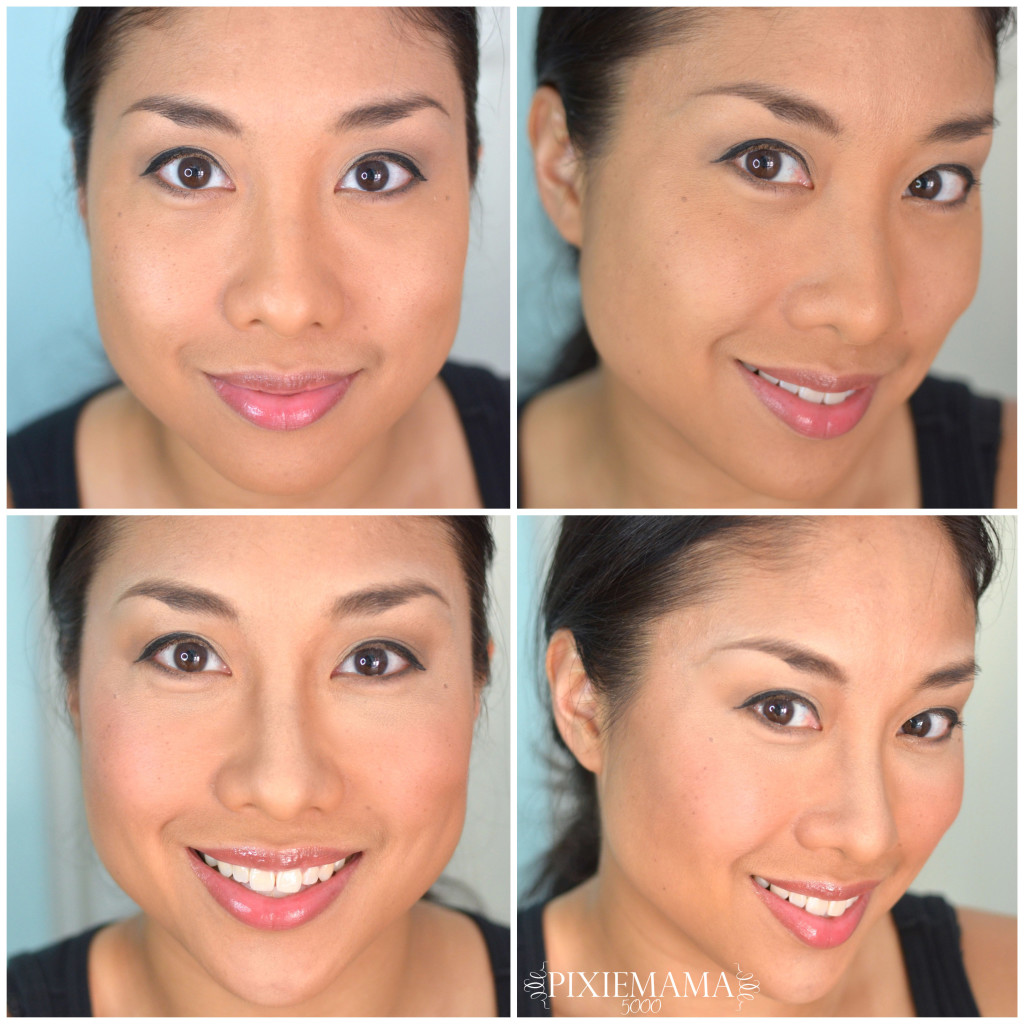
The purpose of contouring is to create shadows on your face, so when choosing a color be sure to choose a color on the cooler side. I did a very tiny bit of contouring with a MAC 224 fluffy brush sweeping the shadow on the sides of my nose and under my cheekbones. When you are done make sure you blend it all! I found that I had to add a lot more color/blush onto my face because my face appeared even brighter/whiter once the highlight was applied. Be sure to set with powder (I used MAC Studiofix C3 on the lighter areas) and you’re ready to go!
Beauty tip: For those of you with an oily nose be sure to prime and set with powder well. I noticed on the day that I didn’t do so I was running around and had some slight beading of the product on my nose 🙁
I received an email the other day from Sephora about contouring tips and I found this quick video really helpful!
https://www.youtube.com/user/sephora
https://www.youtube.com/watch?v=Fuz7Z8OGpdU
What do you think? Have you tried highlighting and contouring? I think it just gives a brighter look to your face and adds a little definition. See, it is possible to do a little highlighting and contouring for an everyday look and it’s pretty quick! Hope you enjoyed this, let me know your thoughts!


Love this 🙂
Thanks Julie! I have some refining to do but it’s so fun to play around! xoxo